Short answer: a bridge is a strip of material left in place to connect an "island" (a piece surrounded by cut-out areas) to the rest of the stencil. Without it, the island falls out and that part of the design disappears. You need one wherever a shape is completely enclosed, like the middle of an O.
See the difference
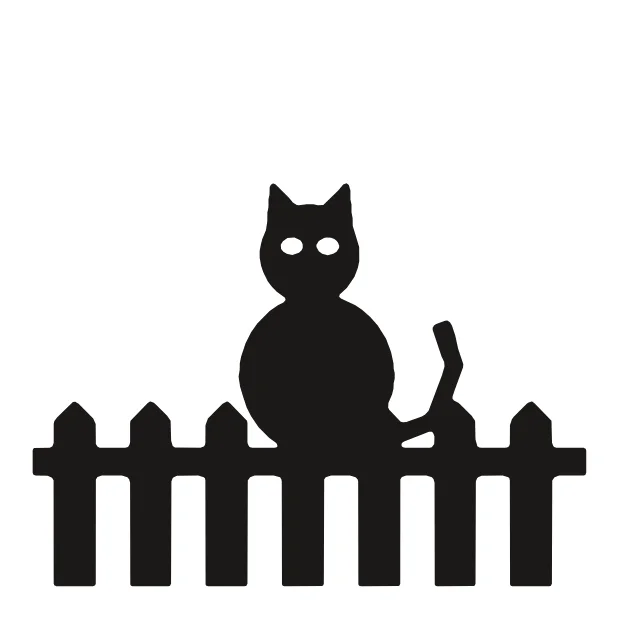
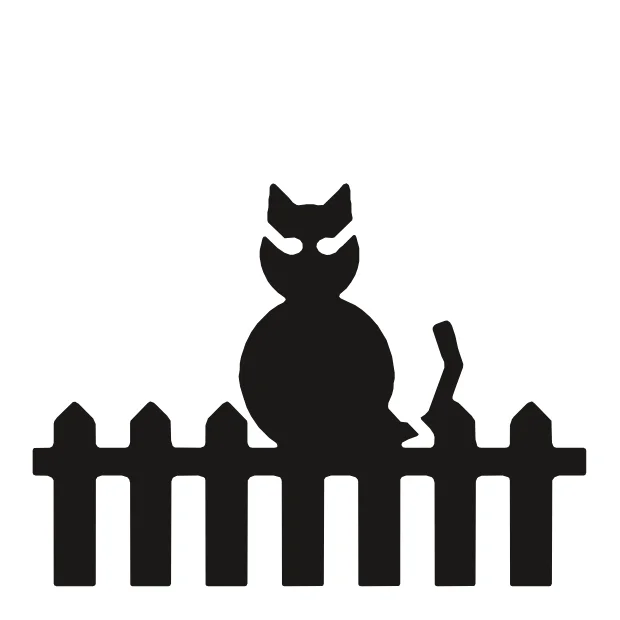
These two versions come from our stencil maker. The dark areas are what you cut away, and everything else stays as stencil material.
How to find islands by eye
Put your finger on any uncut part of the stencil and try to trace a path to the outer frame without crossing a cut area. If you cannot, that part is an island. The usual suspects are:
- Letters and numbers with closed middles: A, B, D, O, P, Q, R, 0, 4, 6, 8 and 9. Stencil fonts have these bridges built in.
- Eyes and teeth in faces, especially when the face is dark and the eyes are light.
- Light shapes surrounded by dark ones, such as a moon's highlight or the gap in a handle.
How many does a design need?
We ran the drawn sample pictures in the maker and three real photos from our color test to count how many islands needed a bridge, at one layer and at three layers:
| Picture | One layer | Three layers (all layers added up) |
|---|---|---|
| Cat and moon | 3 | 9 |
| Apple | 1 | 2 |
| Portrait | 0 | 0 |
| Cat (real photo) | 4 | 8 |
| Dog (real photo) | 9 | 12 |
| Sunflower (real photo) | 8 | 34 |
A drawn portrait with connected dark and light areas may need none. A picture with separate small highlights needs more. The real photos needed 4 to 9 bridges at one layer, more than any of the drawings. Going from one layer to three usually adds bridges, because each layer has its own islands, and the sunflower photo jumped to 34. The count did not change between thin and wide bridges in our test, on drawings or photos, because width changes how strong each bridge is, not how many islands there are.
How wide should a bridge be?
Thin bridges are less visible in the paint but tear more easily. The maker offers these widths:
- Thin, 1/16 in (1.5 mm): small stencils, or sturdy material such as thick card or mylar.
- Medium, 1/8 in (3 mm): a good default for card stock and most projects.
- Wide, 3/16 in or more: thin paper, big stencils and anything you plan to reuse.
If you are carving a pumpkin, go wider: the flesh is weaker than card, and the piece has to hold up for days. Our pumpkin stencil maker adds bridges and marks which parts to cut and which to shave.
Painting over a bridge
A bridge leaves an unpainted line. To hide it, lift the stencil once the paint is dry and touch up those lines with a small brush. Or use a multi-layer stencil and place each layer's bridges in different spots, so one layer's paint covers the gaps of another.
We have not published a test of how long each width lasts on each material; the widths above are starting points, so try one on scrap first.